
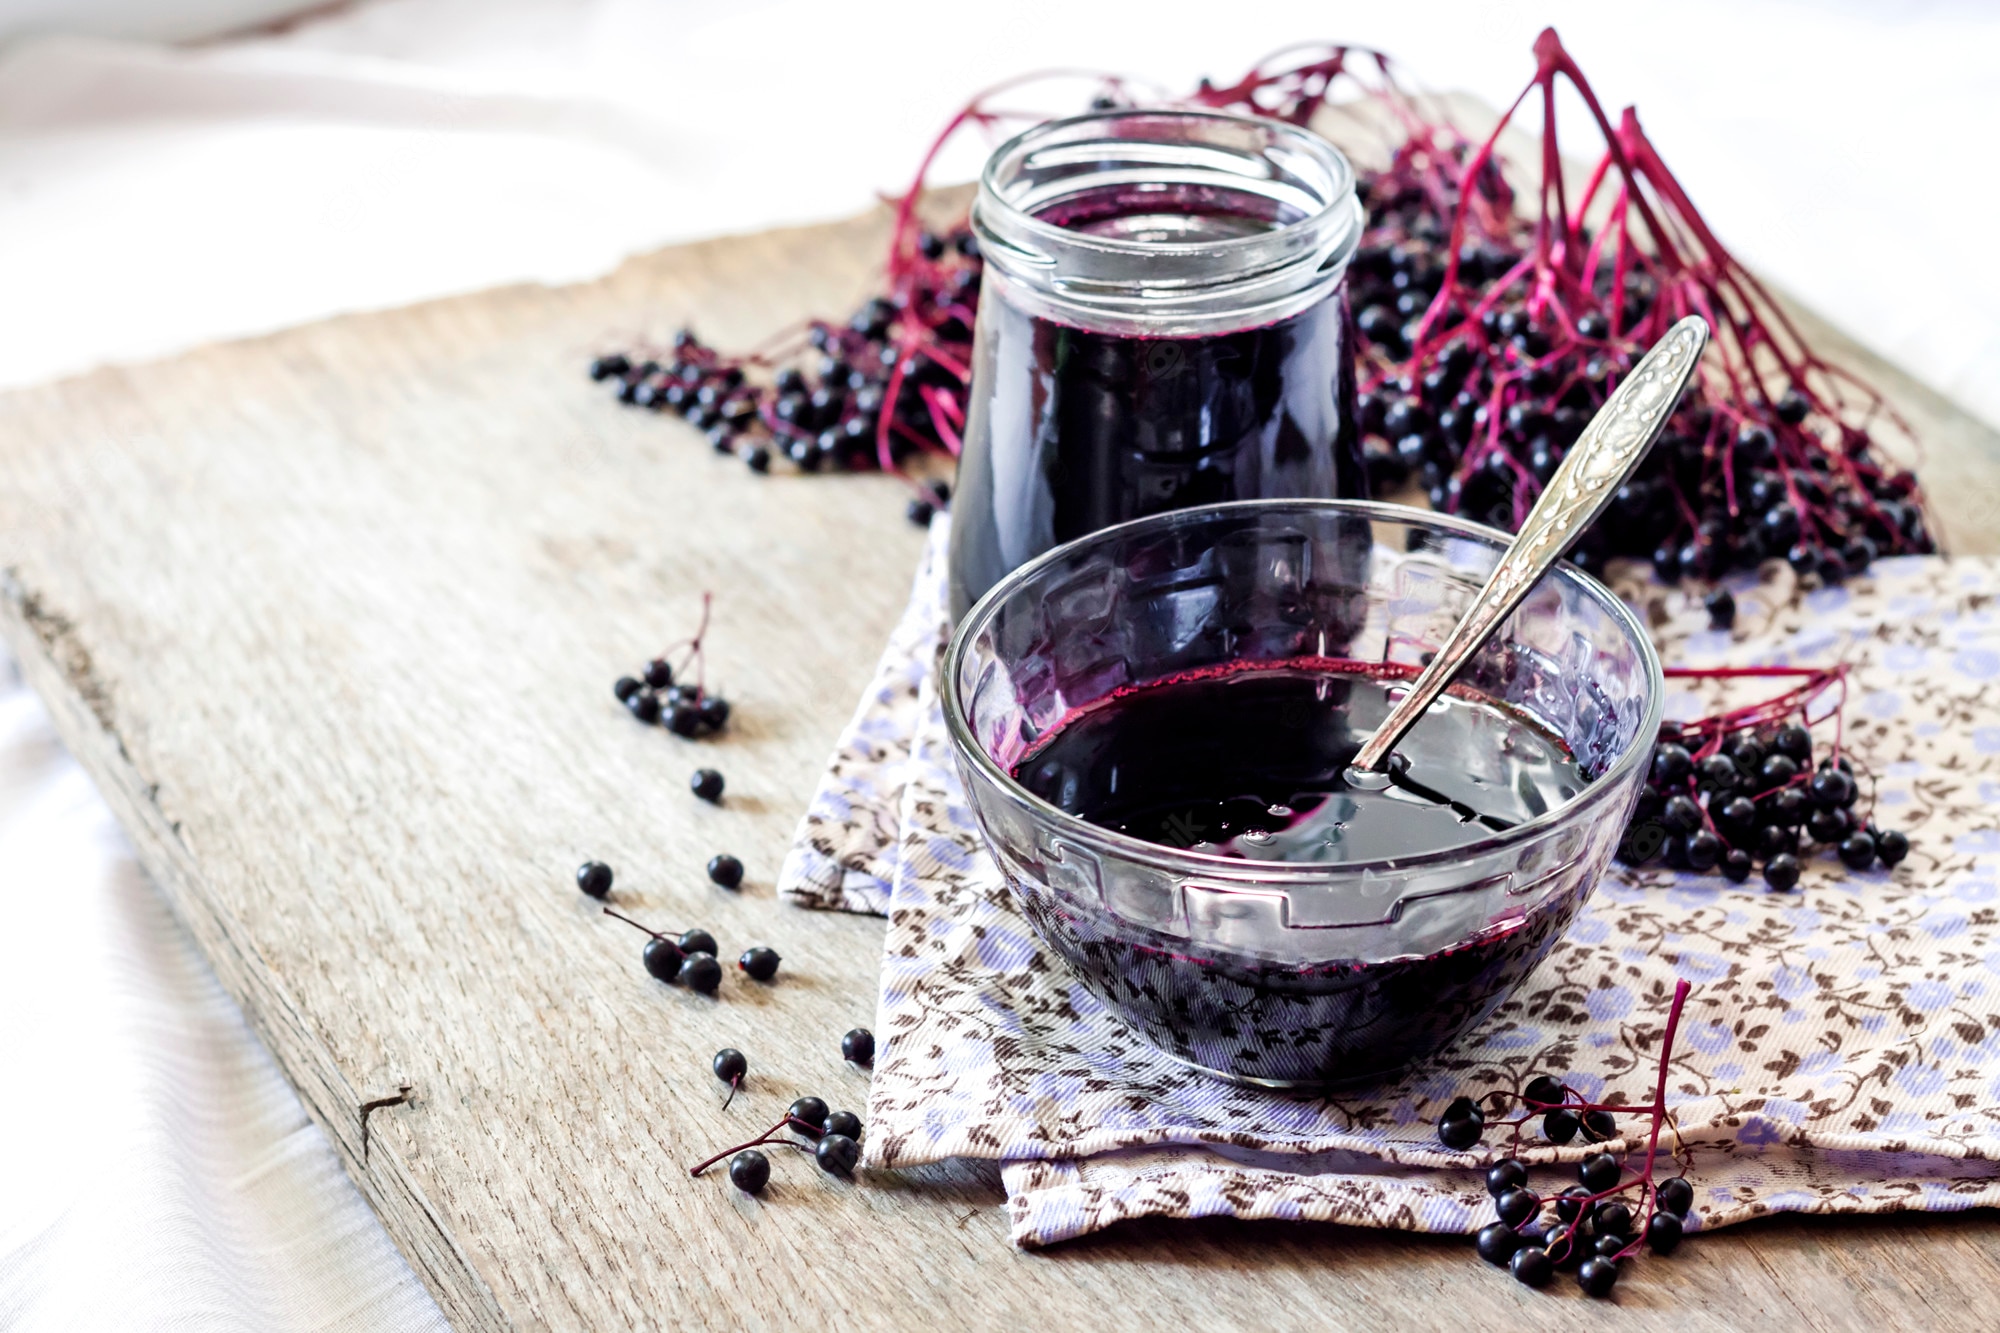
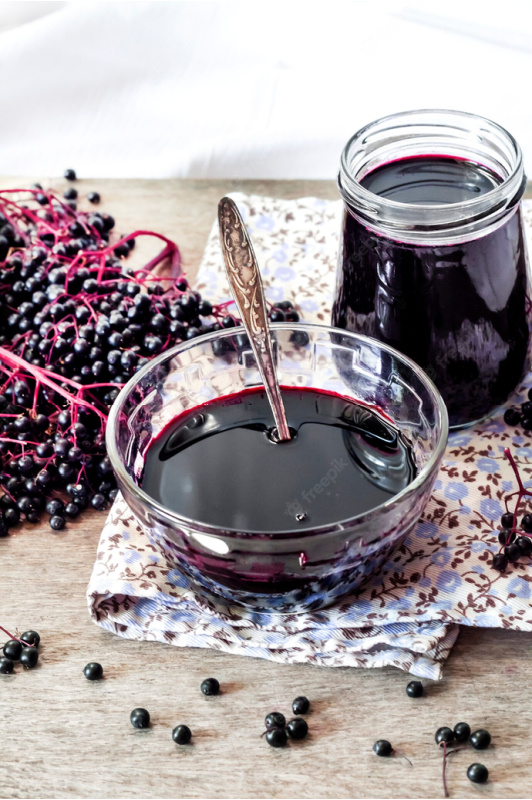
Easy DIY Elderberry Syrup Recipe
If you have ever consulted with me about immune system health, there is no doubt that elderberries have come up in our conversation. While I prefer Elderberry Tincture for everyday use, I still make a couple of good batches of elderberry syrup each fall and winter season. The kids love it, and it is great on pancakes!
My elderberry syrup recipe includes echinacea because while elderberries are amazing on their own, there is some good research that shows what it does when combined with elderberries. There is also a baby safe option, because children under one years old should not have honey.
Elderberry: A 1993 study done in Israel showed that black elderberry combined with Echinacea treated/cured flu symptoms faster than Tamiflu. You can read more about that in my article, Elderberry vs. Tamiflu. Elderberry contains numerous healthful constituents, including antioxidants, tannins, vitamins A, B, and C, flavonoids, and many more benefits which are known to make the immune system stronger. Elderberry is best known for fighting flu right when it starts so it's best to take a daily dose during times of seasonal threat. If not taking a daily dose, it’s important to take it immediately at the first signs of symptoms.
Echinacea: The National Institute of Health says that Echinacea is shown to be effective when taken at the first signs of cold or flu symptoms. They even state that it is treatment for urinary tract infections, vaginal yeast infections, genital herpes, bloodstream infections (septicemia), gum disease, tonsillitis, streptococcus infections, syphilis, typhoid, malaria, and diphtheria.
Hibiscus Flowers (optional): Hibiscus can help boost your immune system and may help to prevent cell damage caused by free radicals in the body, which can reduce the risk of developing many health complications. Hibiscus also helps fight inflammation, has antibacterial properties, and contains a serious amount of vitamin C.
Rosehips (Optional): Another anti-inflammatory herb that due to its high levels of antioxidants, boostsyour immune system, while supplying a good amount of vitamin C.
Cinnamon: Not only is cinnamon delicious and great for helping to control a number of health issues, it has been shown to treat cold, flu, and gastrointestinal distress.
Ginger Root: Another great tasing addition to your elderberry syrup recipe! Ginger is most popularly known for easing nauseousness, but most people find that it helps symptoms related to cold and flu as well.
Honey: Honey is effective for many ailments and has been shown to be even more effective at soothing irritating coughs than cough medicine. It is also antibacterial and works towards preserving your elderberry syrup. Ideally, a good quality raw honey should be used, unless using elderly syrup for children under one years old. For children under one years of age, real maple syrup works as a good substitute.

For 1 Quart (32 oz) of Syrup You Will Need:
- 2 Cups Dried Elderberries
- 1/4 Cup Dried Echinacea purpurea
- 2 Tbs Dried Hibiscus Flower
- 2 Tbs Rosehips
- 2 tsp Cinnamon or 2 Cinnamon Sticks (I prefer cinnamon granules)
- 1 tsp Ginger (again, I prefer ginger granules)
- 6 Cups Filtered Water
- 2 Cups Honey
- OR Get all the dry ingredients in my Elderberry Syrup Kit
Instant Pot / Pressure Cooker Method
- Add all ingredients from the Elderberry Syrup DIY Kit, and the 6 cups water to the inner liner of the pressure cooker.
- Place lid on and set the steam release knob to the Sealing position. Press the Pressure Cook (or Manual) button or dial and then the +/- button or dial and select 15 minutes.
- When the cook cycle finishes, turn off the pot so it doesn't go to the Warming setting, and let the pressure release naturally.
- Open the lid and take out the inner pot and strain the liquid into a glass bowl to cool, applying enough pressure to get all of the goodies out of the herb mixture.
- Optional Step: Turn on the Sauté setting to the LOW temperature. Let the syrup simmer and reduce for 5 to 15 minutes, stirring occasionally, until desired thickness is achieved (We personally do not reduce ours, but it may be desired if you will be using your end product for waffles and pancakes).
- Let the mixture cool slightly, then whisk in 2 cups honey until dissolved. (use maple syrup for children under 1 year of age)
- Taste and add more honey if you like it sweeter, or add a little lemon juice if you like it tart.
- Transfer the elderberry syrup to a bottle or mason jar with a lid and refrigerate for up to 2 months.
Stovetop Method
- Add all ingredients from the Elderberry Syrup DIY Kit, and 6 cups water to a medium saucepan.
- Bring to a low boil. Reduce heat to a low simmer for 45 minutes to 1 hour.
- Mash the berries while still in the pan, then strain through a fine mesh strainer or cheesecloth, applying some pressure to get all the goodies out of the herb mix.
- Let the mixture cool slightly, then whisk in 2 cups honey until dissolved. (use maple syrup for children under 1 year of age)
- Taste and add more honey if you like it sweeter, or add a little lemon juice if you like it tart.
- Transfer the elderberry syrup to a bottle or mason jar with a lid and refrigerate for up to 2 months
Standard dosage: Adults: 2 tsp. up to 3 times per day, Children: 1 tsp. up to 3 times per day.
I hope you enjoy making you own elderberry syrup. I hope that you will get the kids or grandchildren involved while teaching them the importance of herbs and their amazing benefits! I like to think that you will. One of the things that I love most about practicing herbal medicine is passing as much as I can to the younger generations.
Recent Posts
-

Cultivating a Quiet Mind: Herbs for ADHD, Calm, and Focus
If you or a loved one struggle with racing thoughts, restlessness, or the daily challenges of ADHD, …12th Jul 2026 -

16 Science-Backed Ways Moringa Transforms Your Health
If you are looking for a single, plant-based supplement that can simultaneously optimize your energy …4th Jun 2026 -

Savoring the Creator’s Harvest: National Tea Day
Welcome to a day of warmth, reflection, and health support! Today, April 21, 2026, marks National Te …21st Apr 2026