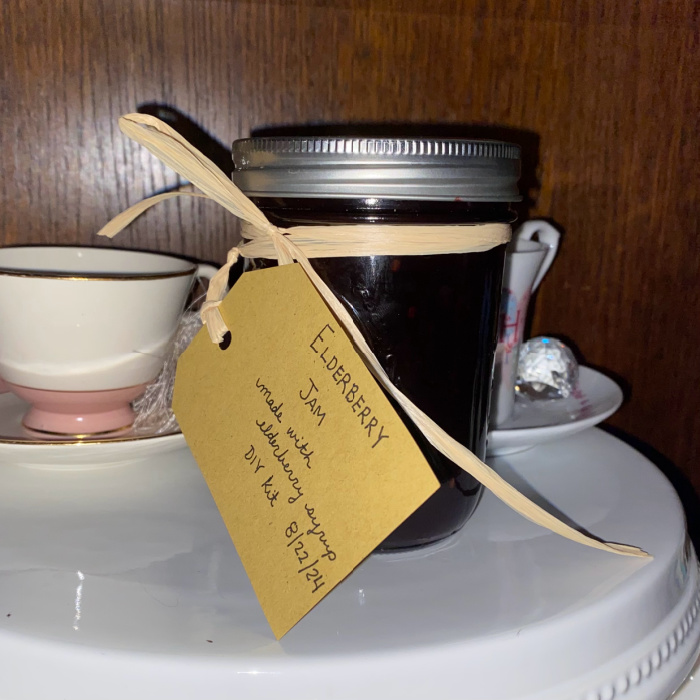
This is the time of the year that I start preparing herbal preparations for fall and winter, and that means making my immune boosting elderberry jam recipe. I make this recipe in batches small enough that I think we can consume the jam within a few months so that it can be safely stored in the refrigerator.
Just before fall I start preparing my jams, jellies, syrups, and oxymels. I choose recipes that my family will happily consume as a part of their regular diet, and this one packs a beautiful immune boosting punch. Now, I always prefer Elderberry Tincture for immune support through the fall and winter months, but the art of herbalism is really about working herbs into the way that we live. Like elderberry syrup, the sugar content in jam for daily preventative dosing. Let's be creative in the way we incorporate herbs. Offering up occasional jams or syrups makes it fun, and gives the children fond memories of herbs beyond tinctures and teas.
What Makes This Immune Boosting Jam
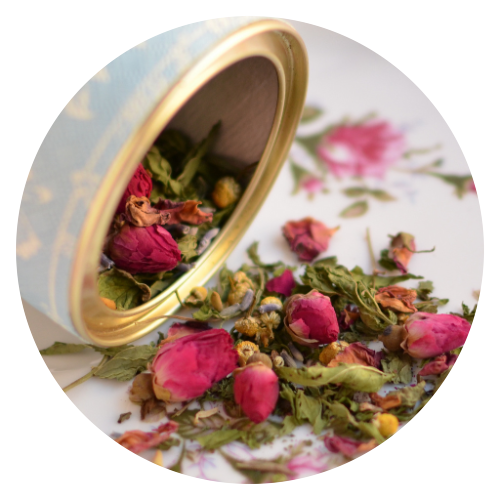
For this recipe, I am using 1/2 cup of our Elderberry Syrup DIY Kit, although can used just dried elderberries. The berries are great on their own, but the added ingredients in the DIY kit make this jam about as immune boosting as any jam can be. The kit is a premixed blend of elderberries, hibiscus flowers, rosehips, echinacea, cinnamon, and ginger root! Each of these ingredients work toward keeping my family healthy and are perfect for back to school, fall, and winter.
Why I Make Refrigerator Jam
Elderberries are a low acid fruit and studies have found that the average pH of the fruit (across 12 different genotypes, 400 samples) was 4.92, with a range of 4.73 to 5.19. Thus, elderberries can not be safely made into a syrup or canned using research-tested recipe where the resultant maximum pH is 4.60. Here is an write up that includes the facts for you other science nerds. -> Why you can't can elderberries. Now, there are ways around this, for example, by adding in extra acid into the recipe, like vinegar. The addition of vinegar wouldn't bother me in a syrup, in fact, I might enjoy the added benefit, especially when planning to make my elderberry gummies. For my immune boosting elderberry syrup recipe, I choose not to go the vinegar route. I find that the jam stores nicely in a sealed jar in the refrigerator, and the recipe is easy enough that I don't feel the need for large canning batch.
Take note: The lemon juice in the recipe IS NOT enough acid to make this recipe canning safe. The purpose of the lemon juice is to help the fruit pectin set up nicely.
Variations of the Recipe
Dried Elderberries: For this elderberry jam recipe, I use The Herbal Toad's Elderberry Syrup Kit, but you can use dried elderberries instead. The advantage to the kit is that it contains other immune boosting goodies that I like to add to my jam for fall time use.
Adjusting Batch Size: I have made this jam recipe in a bigger batch by doubling the ingredients. It did not set well for me and remained pretty runny.
Substitute Sugar: You can substitute 3/4 cup sugar for the honey.
Without Pectin: You can also make this elderberry jam recipe without the pectin. I personally don't care for this variation as much because it creates a looser jam that doesn't set to my liking. Since elderberries are low-pectin fruits, adding a little pectin will help the jam set nicely and keep a nice clear and vibrant color. To make elderberry jam without fruit pectin, I add chia seeds to the recipe. Add 1 1/2 to 2 tablespoons of chia seeds right at the end of the cooking process, after the fan is removed from the heat. The chia seeds soak up the juice and moisture and give a thick texture effect to the jam without adding additional sugar or using pectin.
Immune Boosting Elderberry Jam Recipe
Makes about 2 pint
- 1/2 Cup The Herbal Toad DIY Elderberry Syrup Kit (see substitution above for dried elderberries)
- 3/4 Cup water
- 1 1/2 Cup lemon juice
- 1 Tablespoon powdered pectin (see substitution above to omit pectin)
- 1/2-3/4 Cup honey, depending on desired sweetness (see substitution above for sugar)
- Measure the Elderberry Syrup Kit or dried elderberries into a small glass bowl. Add the water to the elderberry mix. Cover with a clean dish towel and allow to sit for eight to twelve hours, or overnight, to rehydrate berries. This step makes all the difference!
- Pour the rehydrated elderberries and any remaining juice/water into a medium saucepan. Add the lemon juice, stir to combine. Bring mixture to a boil.
- Remove from heat. Transfer the mixture to a heat safe blender or food processor. Add pectin and honey. Keeping your hand on the lid of the blender, blend the berry mixture for about 3 minutes, until a consistently smooth.
- Bring to a full rolling boil while continuously stirring (a boil that cannot be stirred down). Reduce heat, simmer and stir for 10 minutes.
- Remove from heat. Skim foam if necessary. (This is where you will add the chia seeds if you are needing to replace the pectin, see variation notes above)
- Pour the hot jam into canning jars. Cap and let cool for several hours before placing jars in refrigerator. The jam will solidify as it cools. This elderberry jam recipe is a refrigerator jam and must be stored in the refrigerator, even before use.
Note: If you don't like any herb or seed texture at all, you can strain your jam through a fine mesh strainer before adding it to the jar.